Mac Operations
Keeping your OS X VM guest tools current with Munki
I use VMware Fusion to test client software, deployment workflows, and using virtual machines allows me to frequently take and roll back snapshots. Over time, the VMware guest OS tools tend to drift out of date with the version of Fusion, and are reported to need updates/reinstalling. Sometimes when this happens, things like pasteboard synchronization, automatic window resolution resizing and drag-and-drop file transfers stop working. I’d like to not have to manually click “Update VMware tools..” and go install the tools manually every time I notice the tools are out of date between snapshots (which on my system seems to be frequently).
Luckily, I use Munki to manage OS X clients, and it’s great at updating software. In this post I’ll walk through the few steps I did to have all my test machines configured to automatically keep their VMware tools up to date. The same logic should apply for other software management platforms like Casper, Absolute Manage or Puppet, using their respective mechanisms for customizable discoverable attributes. This technique should work for users of Parallels, if they use a sane OS X installer for their tools. VirtualBox has yet to ship with any OS X guest tools.
There are a few pieces involved in setting this up:
- Importing the guest tools installer into our software repo.
- Configuring this item as an install for our test machine or group of machines.
- If we want to do this in a smart way, we can also have the management system install these tools only if the client is actually a VMware Fusion VM. By doing this, we don’t have to explicitly set tools to install on specific machines, and instead let Munki do this conditionally. Munki’s mechanism for this is called conditional items.
The version of Fusion I’m using at the time of writing this is 7.0.1.
Importing the guest tools
VMware Fusion keeps its various guest tools in /Applications/VMware Fusion.app/Contents/Library/isoimages. OS X tools, of course, live in the darwin.iso disk image. If this disk image doesn’t exist, you may be on a system that has never created an OS X guest and whose VMware Fusion distribution didn’t come with tools included. VMware Fusion will download the guest tools as needed if this is the case, so create a dummy OS X VM just to get Fusion to download the tools.
We can open this up and see it’s got a plain installer:
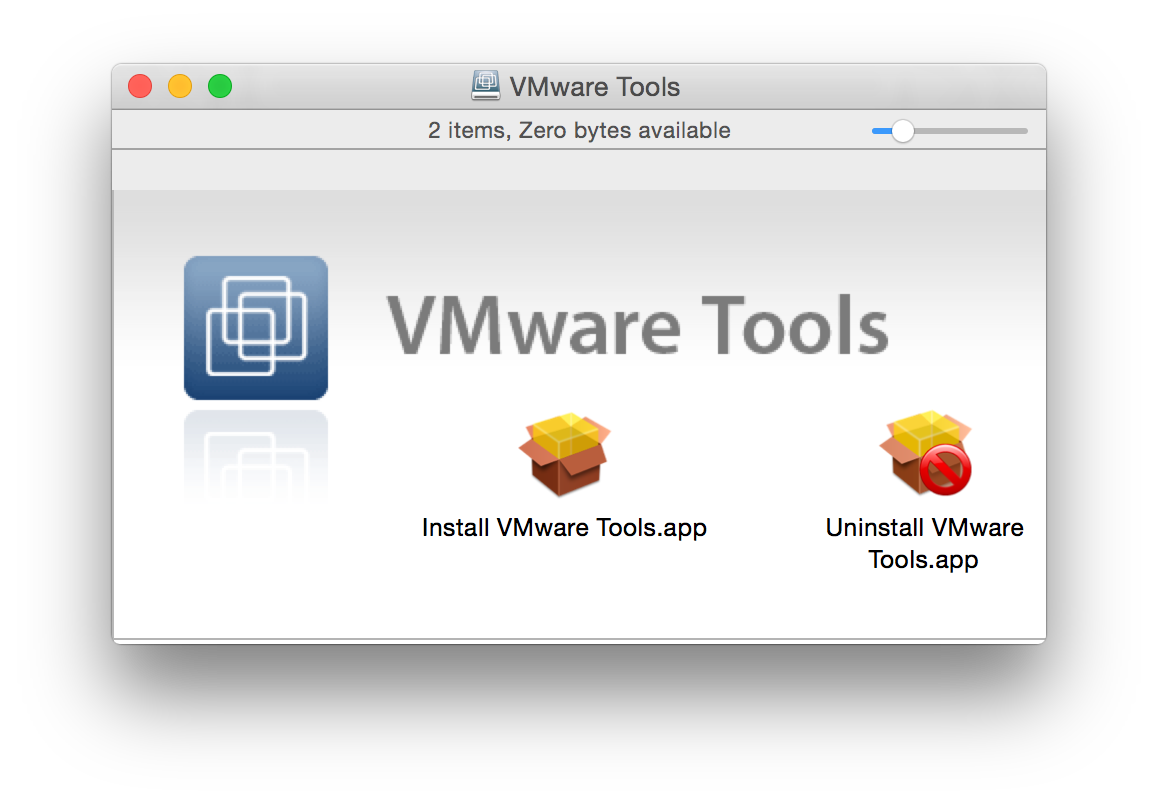
This isn’t actually an installer, it’s an application disguised as an installer. It seems to be a shim app that simply loads an embedded installer package using the standard Installer app. I’m not really sure why this exists - but it does. Luckily, if we dig into this bundle (right-click and “Show package contents”), we’ll find the actual installer at Contents/Resources/VMware Tools.pkg. This is what we want to tell Munki to import. We can use munkiimport to import this disk image interactively.
(An easter egg: If you have a VMware Fusion 6.0.x app bundle laying around, take a closer look at the folders at the top level of the mounted darwin.iso image. It contains a small set of additional bootloader files and drivers, some of which are used for legacy DVD-based installs.)
When Munki installs from items on a disk image, it can look for these items at arbitrary paths, meaning we can import the vendor iso file directly. This saves us the small step of needing to first mount the disk image and locate the real package, and we can more easily automate this process. Being able to use the vendor installer directly for almost all software is one of Munki’s many strong points as far as cutting down on tedious repo management, especially for cases where an application may have multiple installer pkgs within a single DMG (Autodesk Maya, for example).
Here’s the output of munkiimport (note the use of the -p option to specify the path to our installer, which makepkginfo will use to set the package_path key in the pkginfo plist file.
➜  ~ munkiimport -p "Install VMware Tools.app/Contents/Resources/VMware Tools.pkg" darwin.iso
      Item name [VMware Tools]: VMwareTools
   Display name [VMware Tools]:
    Description: Guest tools for VMware Fusion OS X VMs.
        Version [9.8.4]:
       Category: Developer Tools
      Developer: VMware
       Catalogs [testing]:

Import this item? [y/n] y
Upload item to subdirectory path []: support/VMware
Path /Volumes/munki_repo/pkgs/support/VMware doesn't exist. Create it? [y/n] y
No existing product icon found.
Attempt to create a product icon? [y/n] y
Attempting to extract and upload icon...
Created icon: /Volumes/munki_repo/icons/VMwareTools.png
Copying darwin.iso to /Volumes/munki_repo/pkgs/support/VMware/darwin-9.8.4.iso...
Saving pkginfo to /Volumes/munki_repo/pkgsinfo/support/VMware/VMwareTools-9.8.4...
In this case, I’ve accepted the most of the defaults, given it the item name of VMwareFusion and put it in a repo subfolder of support/VMware.
Recent versions of this tools installer seem to use a sane package identifier and version number, so I haven’t needed to make additional changes to the Munki pkginfo. If you do wish to add an additional installs array to your pkginfo, one place where you will find components that are likely to be unique for each tools version are the kernel extension bundles in /Library/Application Support/VMware Tools/, for example the vmhgfs.kext bundle. These tend to also have the same CFBundleShortVersionString as the tools installer packages.
Note that the package version of 9.8.4 isn’t very meaningful to us, so you may wish to change the pkginfo’s version key to 7.0.1 just so that you know which tools package is for which version of Fusion. They do seem to at least increment in a logical fashion with new Fusion releases. All that matters here is that you are consistent, because when Munki attempts to install these tools it will pick the highest version it finds in the first catalog in which it is found.
Making it available to clients
The model of how Munki decides what software to offer to clients is simple. A client looks for a specific “manifest” file on the server, matching a ClientIdentifier that’s been configured on the client or, in its absence, several fallback values: the client’s FQDN, its “short” hostname, the Mac’s serial number, or a default manifest called site_default.
These manifests are plists containing an array of catalogs that will be searched for the client, and typically one or more arrays of containing installer items to be installed, updated (only if already installed), made available through an “Optional Installs” self-service interface, or removed.
While we could explicitly set this VMwareTools item to be installed on clients we know to be running in VMs, we can make this smarter and only process this install item if Munki determines that this client is in fact a VM. This way, we can define this in a manifest that may be shared by any number of VMs and physical machines. Munki can include manifests in other manifests using the included_manifests array key.
My testing clients (including my main workstation) all include a manifest called “utils”, which contains a list of software that’s useful for me to always have available on testing machines. This includes debugging utilities, command-line tools, and Mac admin tools that I find useful to always have at hand for testing. Since I’m including this manifest for all test machines anyway, I’d like to just add the VMware Tools to this same manifest, and have Munki figure out whether it’s needed. To do this, we’ll look at “admin-provided conditions” in Munki.
Writing an admin-provided condition
Conditions are Munki’s term for attributes of the client system that can be derived automatically every time Munki runs, and which it can use to conditionally determine whether certain items are installed. The equivalent in Casper is the Smart Attribute, or for Puppet, “facts” derived by the Facter tool. This is a common pattern among client/server management systems.
Munki expresses the conditions using Apple’s NSPredicate syntax, which allows us to define an expression using these conditions and which evaluates to either true or false. If true, whatever installs or removals are defined for that condition will apply to this client. Conditions can also be nested.
Munki includes some built-in conditions for attributes like the client’s OS X version, whether it’s a desktop or laptop, and more. There’s one called machine_model, which reports the model identifier (“iMac15,1”, etc.). Since VMware Fusion VMs use model identifiers like “VMware7,1”, we could potentially use a condition that looks like: machine_model BEGINSWITH "VMware". For me this was not sufficient, because for certain VMs I make use of VMware’s ability to “spoof” different model identifiers and test some conditions in a way that better simulate running on physical hardware. Since there’s nothing else built-in to Munki I could use for this, I went the route of writing my own condition.
Munki supports these additional conditions in that it will run any executable files located in clients’ /usr/local/munki/conditions directories. These executables are expected to populate values in a ConditionalItems.plist file in the Managed Installs directory that Munki uses for its data. These are frequently simple scripts that run some system command and extract the data from the output of the command. The data that were interesting in deriving here is simply whether this client is a virtual or physical machine.
I’ve written a basic condition script that provides a value for a condition called virtual, and it’s posted here on GitHub.
Copy this script to a VMware Fusion guest already configured with Munki and able to get updates from a manifest. Make sure the script is placed in /usr/local/munki/conditions, is executable, and not world-writable.
Now we can define a new block in our manifest for this client, using the conditional_items array. Here’s an example of a complete manifest including one conditional item:
<?xml version="1.0" encoding="UTF-8"?>
<!DOCTYPE plist PUBLIC "-//Apple//DTD PLIST 1.0//EN" "http://www.apple.com/DTDs/PropertyList-1.0.dtd">
<plist version="1.0">
<dict>
    <key>catalogs</key>
    <array>
        <string>testing</string>
        <string>production</string>
    </array>
    <key>conditional_items</key>
    <array>
        <dict>
            <key>condition</key>
            <string>virtual == 'vmware'</string>
            <key>managed_installs</key>
            <array>
                <string>VMwareTools</string>
            </array>
        </dict>
    </array>
    <key>managed_installs</key>
    <array>
        <string>AdobeRUM</string>
        <string>Charles</string>
        <string>SuspiciousPackage</string>
        <string>Xcode</string>
    </array>
</dict>
</plist>
And with this, we’ve seen how we can import VMware guest tools into Munki, and take advantage of Munki’s admin-provided conditions to dynamically install them on clients that can make use of them.
comments powered by Disqus